

The Stribe guide to dental photography
What equipment do you need for dental photography?
You don't need a studio. You need a system, the right settings and practice.
The short answer
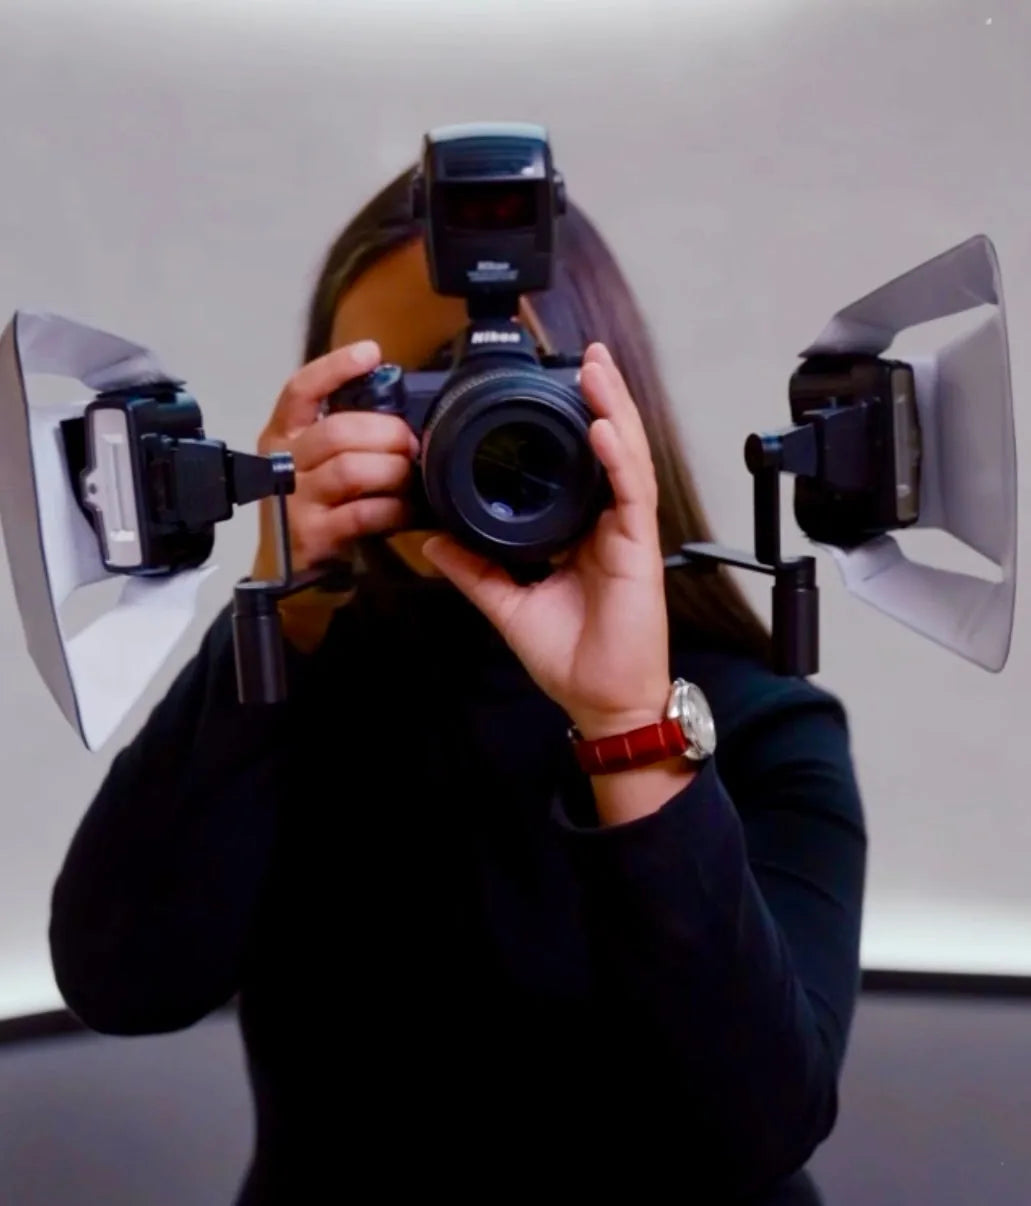
For dental photography you need three things: a camera body, a fixed macro lens close to 100mm and a twin flash. Then five accessories: retractors in more than one size, a black contrastor, a double-sided occlusal mirror, a black background and bouncers to soften the flash.
Photography isn't part of core dental education, yet every case depends on it. I use it to plan treatment, document the case, evaluate my own work, educate patients and talk to my ceramist.
There is only one chance to take a before photo.
01 · The best camera for dental photographyThink of the camera as a system.
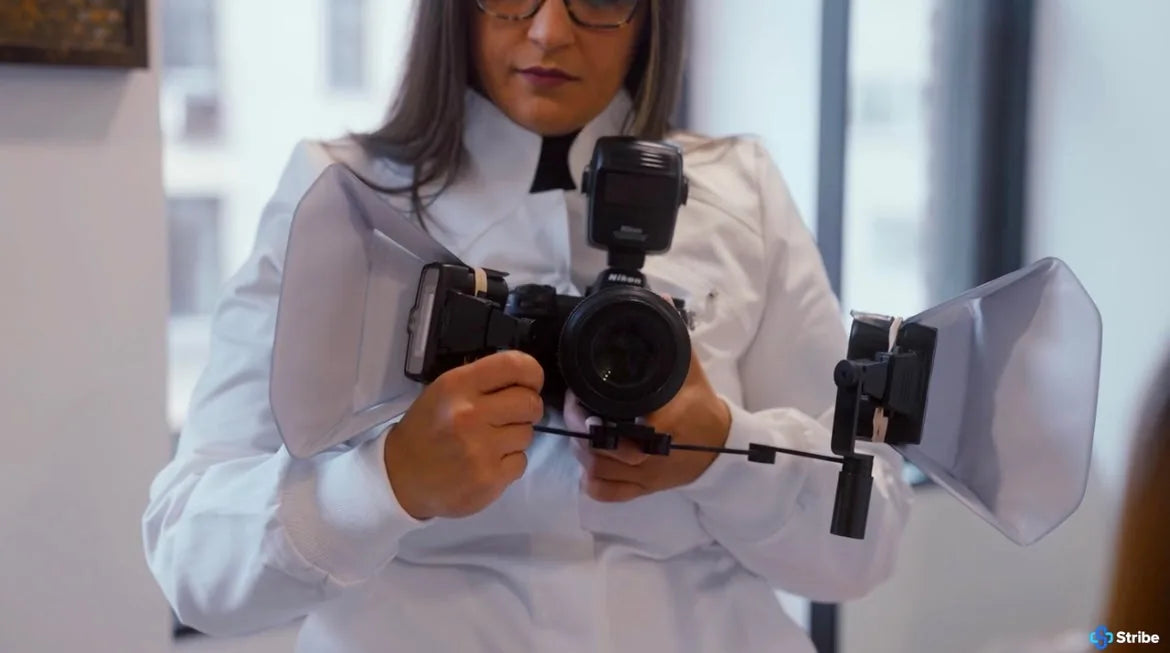
Three parts work together: the lens, the body and the flash. You buy them separately.
 1
2
3
4
5
6
- 1Macro lens, fixed, close to 100mm
- 2Body, crop sensor is fine to start
- 3Wireless commander for the flashes
- 4Twin flash, one on each side
- 5Bouncers to soften the light
- 6Bracket to move the flashes wider
Buy this first.
The lens is the camera's eye, and it decides image quality. Use a fixed macro lens close to 100mm. A fixed lens means no zoom: you move in and out, so every photo is taken from the same distance. That's what makes before and after match. Zoom lenses add distortion. A 60mm lens puts you uncomfortably close for intraoral shots.
Start affordable.
The body is the camera's brain. A crop-sensor body (APS-C) is fine to start. Spend the bulk of your budget on the lens and the flash, then upgrade to full frame as your skill grows.
Twin, not ring, for cosmetic work.
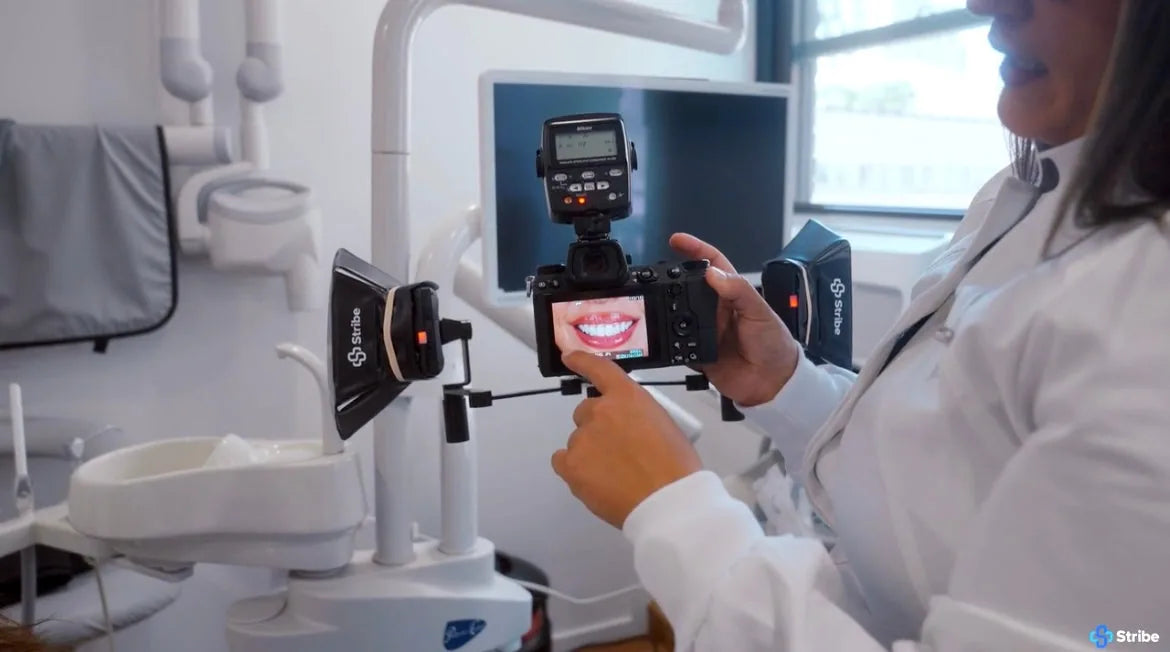
A twin flash lights the teeth from the sides, so you capture texture, translucency, opacity and depth of shade. For anterior esthetic work, it's essential. An adjustable bracket lets you move the flashes wider for lab photos.
| Ring flash | Twin flash | |
|---|---|---|
| Light | Parallel to the lens | From both sides |
| Best for | Surgery and posterior areas | Anterior esthetic work and shade |
| Result | Flat, washed-out texture | Texture, translucency, opacity and depth of shade |
My kit
- Body
- Nikon Z7 II
- Lens
- Nikon Z-mount 100mm macro
- Flash
- Nikon R1C1 dual flash system
02 · Dental photography accessoriesFive tools turn a camera into a clinical system.
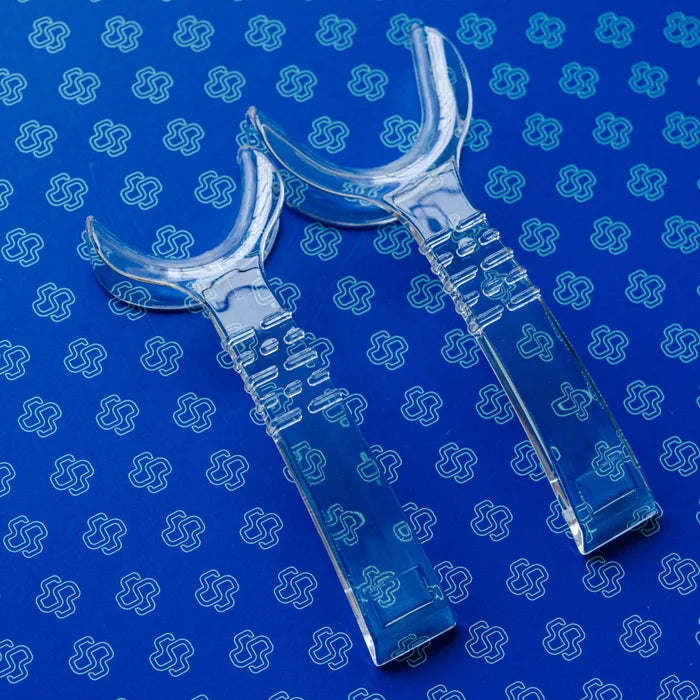
Retractors, in more than one size
The wrong size curls the lips over the retractor and casts shadows in the posterior. Position yourself so as little retractor shows as possible.
In The Box ›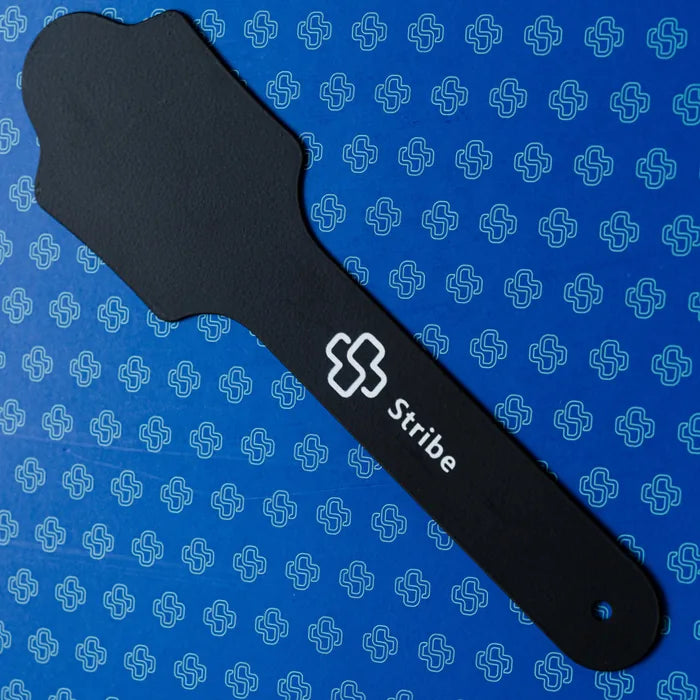
A black contrastor
It goes behind the upper anteriors. The background disappears and the translucency shows.
$29.99 ›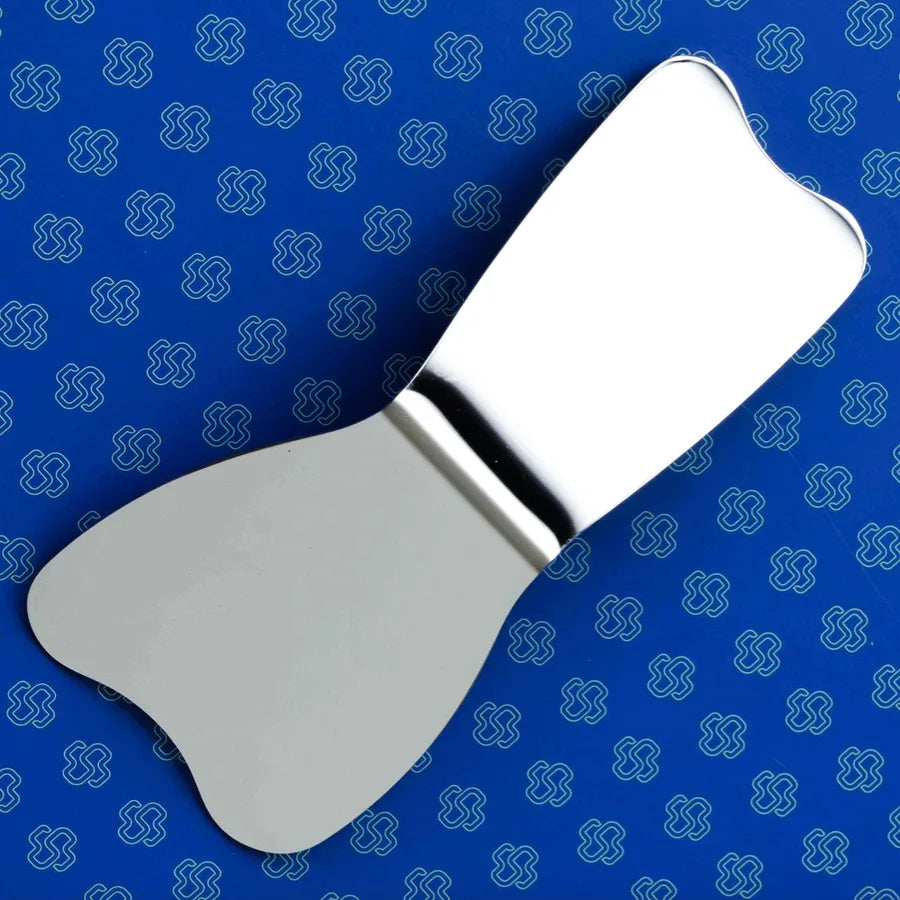
A double-sided occlusal mirror
One side for each arch. Shoot at 45 degrees to the mirror.
$29.99 ›
A black background
Slip it behind the patient's head and the chair becomes a portrait studio.
$29.99 ›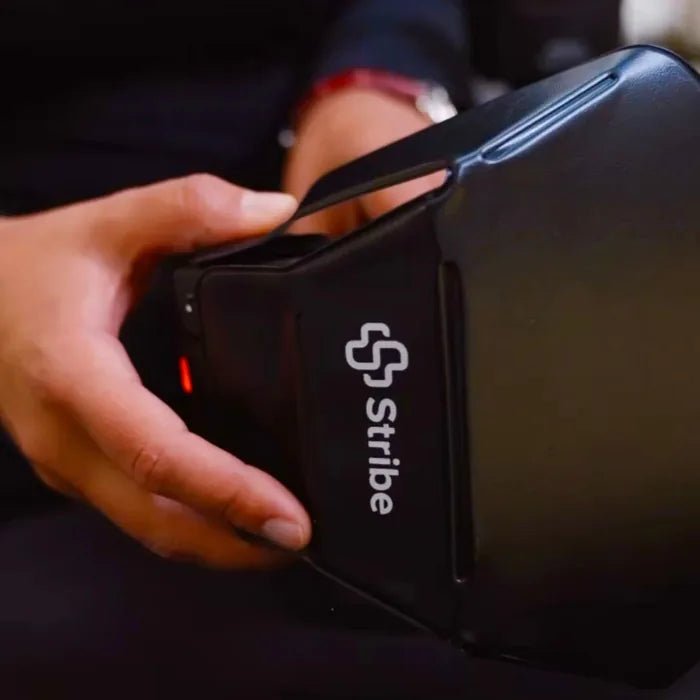
Bouncers
They soften the flash, so teeth look natural, not flat.
$50 ›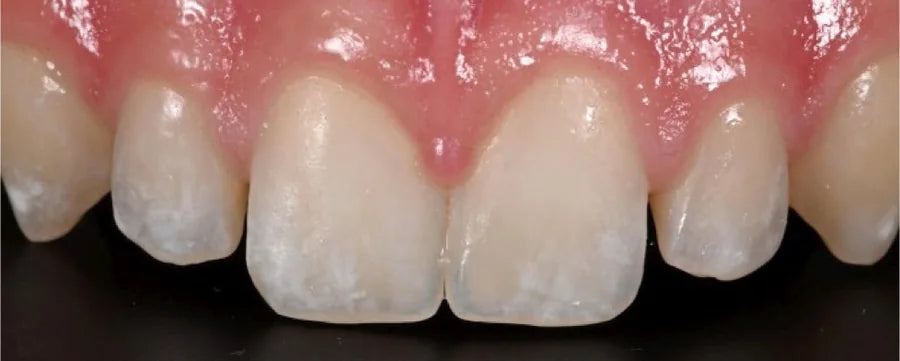 With contrastor
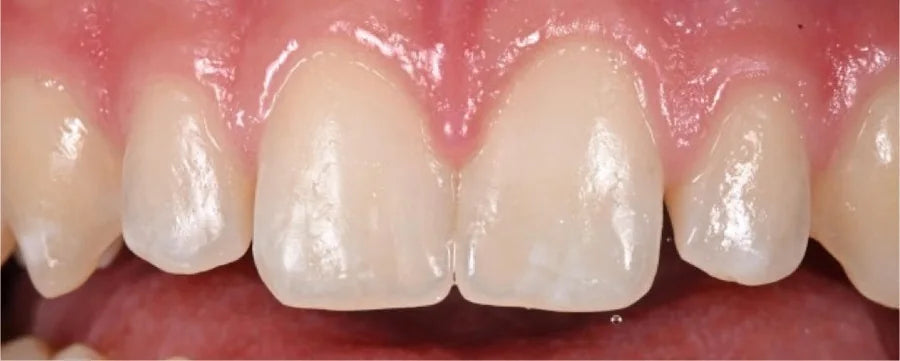 Without
How I shoot the occlusals
- Maxillary. The patient lies back and tilts the head back, my assistant holds the mirror and I shoot down from behind.
- Mandibular. The patient tips the chin up, my assistant holds the mirror and I shoot up from the front.
- Both. Shoot at 45 degrees to the mirror, then flip the image when you edit.
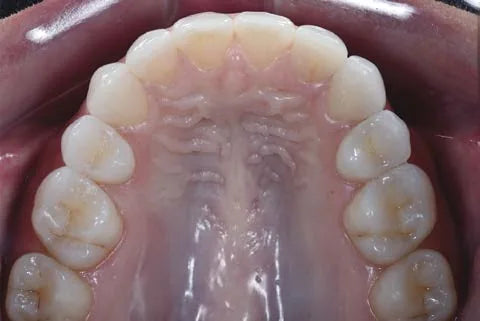
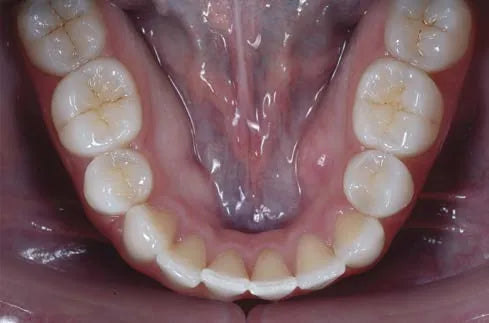
03 · The 12 AACD dental photosThe 12 photos, and how I set each one.
The American Academy of Cosmetic Dentistry recommends twelve views before any treatment. Set the lens ratio first, then move your body until the image is sharp.
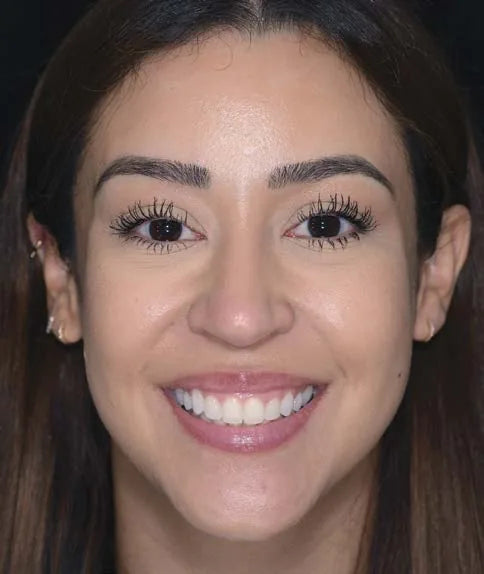
Full face
- f/8 to f/11
- 1:10 full frame
- 1:15 crop sensor
About 7 to 10 feet back. Top of the head to just below the chin, level with the interpupillary line.
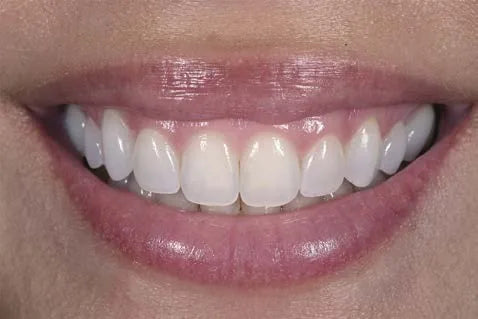
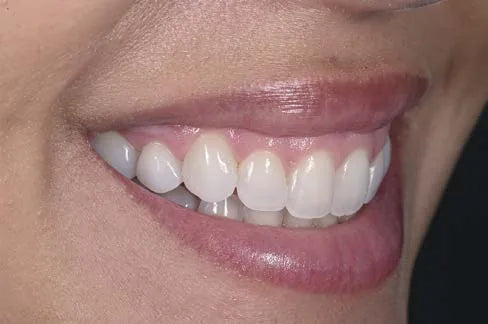
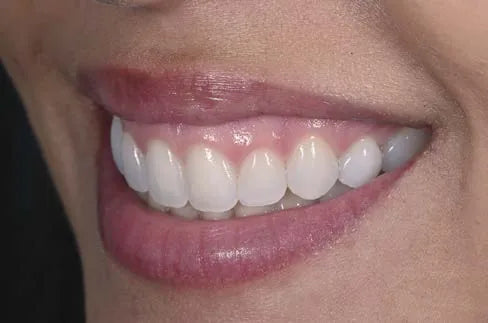
Smile, front, right and left
- f/22 to f/28
- 1:2 full frame
- 1:3 crop sensor
Natural full smile, lips in frame. Focus on the centrals for the front view and on the lateral incisor for the side views.
Retracted, front, right and left
- f/22 to f/28
- 1:2 full frame
- 1:3 crop sensor
Teeth slightly apart so the incisal edges show. As little lip and retractor as possible.
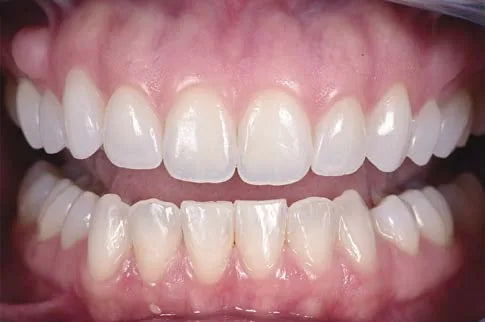
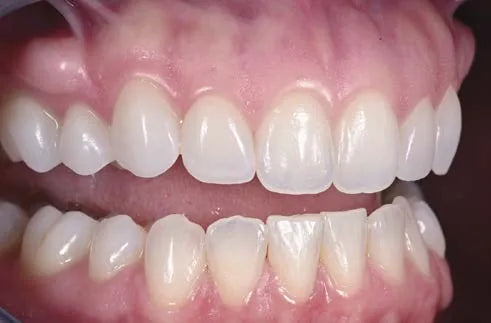
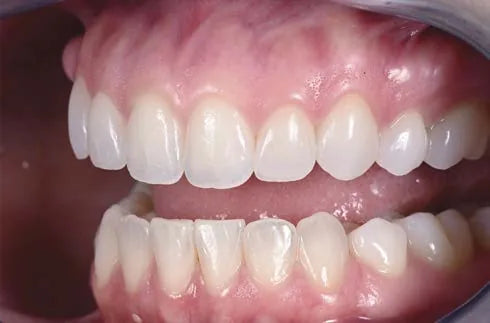
Maxillary anterior close-ups
- f/22 to f/28
- 1:1 full frame
- 1:1.5 crop sensor
Four to six teeth in the frame, no retractors visible.
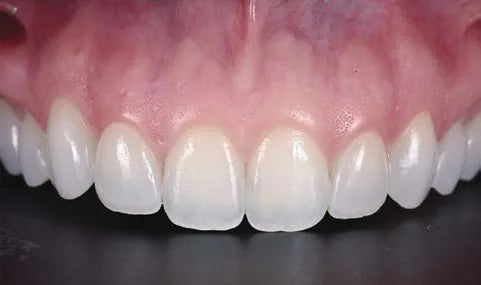
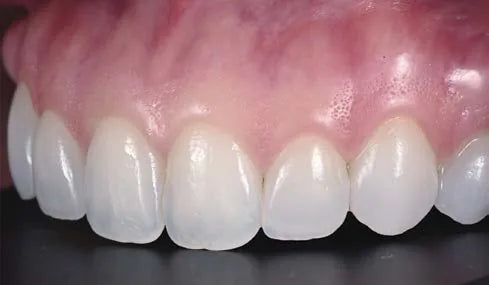
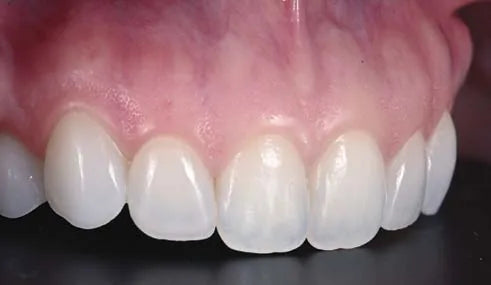
Maxillary and mandibular occlusals
- f/22 to f/28
- 1:2 full frame
- 1:3 crop sensor
Shot at 45 degrees to the mirror, with equal parts of the buccal and lingual of the incisors.
Photos from my article in the Journal of Cosmetic Dentistry, 2020.
04 · Dental photography settingsTwo settings stay fixed. One does the work.
ISO and shutter speed never change. I change exposure with the aperture only.

The same smile, the same flash. Closing the aperture lets less light in and puts more of the arch in focus, which is why I work at f/22 to f/28 up close.
Set the ratio first, then move your body until the image is sharp.
05 · Shade photos for the labTwo extra photos for shade.
Beyond the 12 AACD views, I take two more for my ceramist.
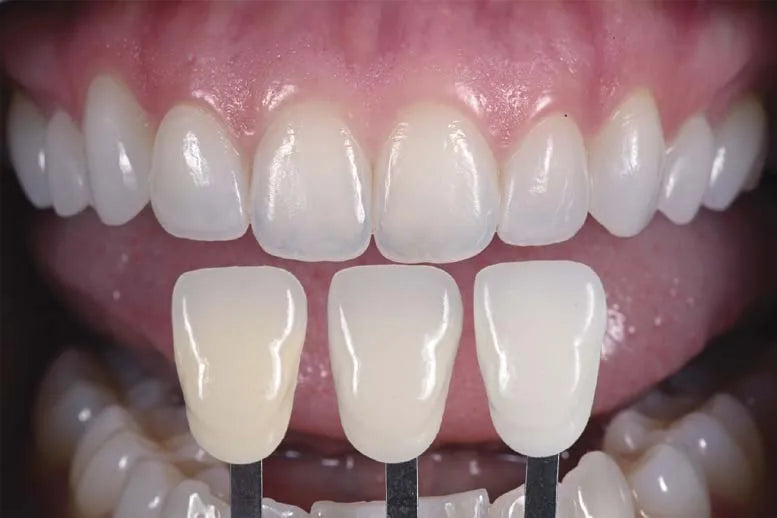
- Shade tabs. Retracted, teeth slightly apart, with three shade tabs in the same plane as the teeth: my best match, one lighter, one darker.
- Underexposed. The same shot slightly underexposed, so the translucency shows.
Give the lab too much information, never too little.
06 · Common dental photography mistakesThree common mistakes.
White is lost information.
A dark photo can be brightened. A blown-out white photo has lost its information for good.
Fix: if in doubt, shoot a little dark.It can't be fixed later.
Check the patient's height and the camera's angle, and move the patient if you need to.
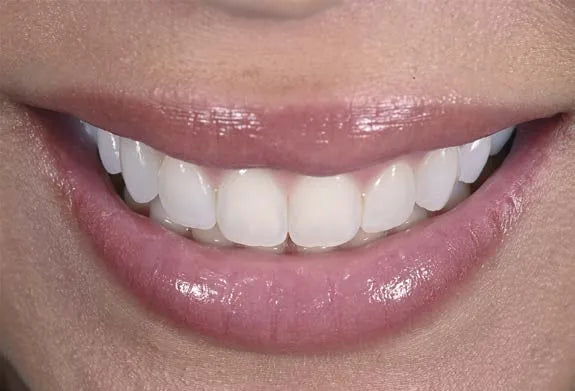
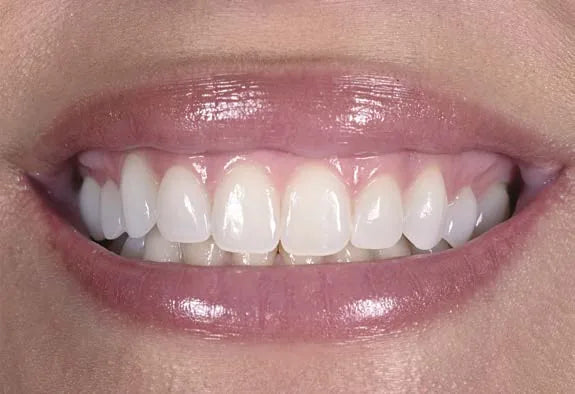
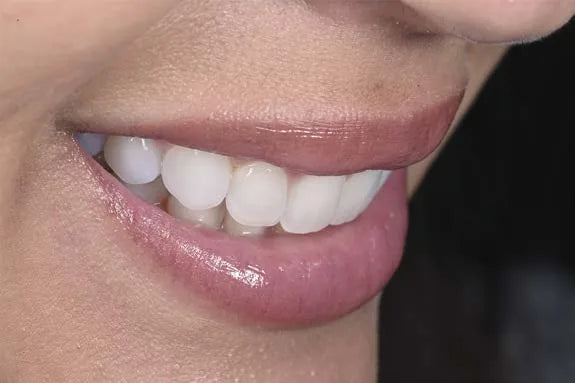
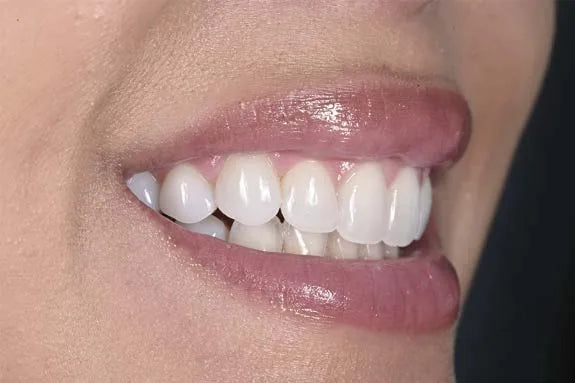
Lips curl, shadows appear.
The wrong size curls the lips over the retractor and the photo is unusable.
Fix: keep two sizes and show as little retractor as possible.Dental photography FAQQuestions dentists ask me.
What is the best camera for dental photography?
Think system, not product: a fixed macro lens close to 100mm, a camera body and a twin flash. Spend most of your budget on the lens and the flash. A crop-sensor body is fine to start. I shoot a Nikon Z7 II with a Nikon Z-mount 100mm macro lens and the Nikon R1C1 dual flash system.
What lens do you need for dental photography?
A fixed macro lens close to 100mm. A fixed lens keeps every photo at the same distance, so before and after match. Nikon makes 105mm and 85mm macro lenses and Canon makes a 100mm. A 60mm lens puts you uncomfortably close for intraoral photos.
Ring flash or twin flash for dental photography?
A ring flash is good for surgery and posterior areas. For cosmetic work, use a twin flash: it lights the teeth from the sides and captures texture, translucency, opacity and depth of shade. Bouncers soften it further.
What are the best camera settings for dental photography?
Keep shutter speed at 1/200 and ISO at 200, and change exposure with the aperture only: f/8 to f/11 for the full face, f/22 to f/28 for smiles, retracted views, close-ups and occlusals. Set the lens ratio first, then move your body until the image is sharp.
Which photos should you take before dental treatment?
The 12 AACD views: full face; full smile front, right and left; retracted front, right and left; maxillary anterior close-ups front, right and left; and the maxillary and mandibular occlusals. I add two shade photos for my ceramist.
Mirrorless or DSLR for dental photography?
Either works. Mirrorless bodies are smaller and lighter, with better autofocus and video. Check the lens mount before you buy, because it decides which macro lenses you can use. I shoot mirrorless.
Where to start
Everything but the camera.
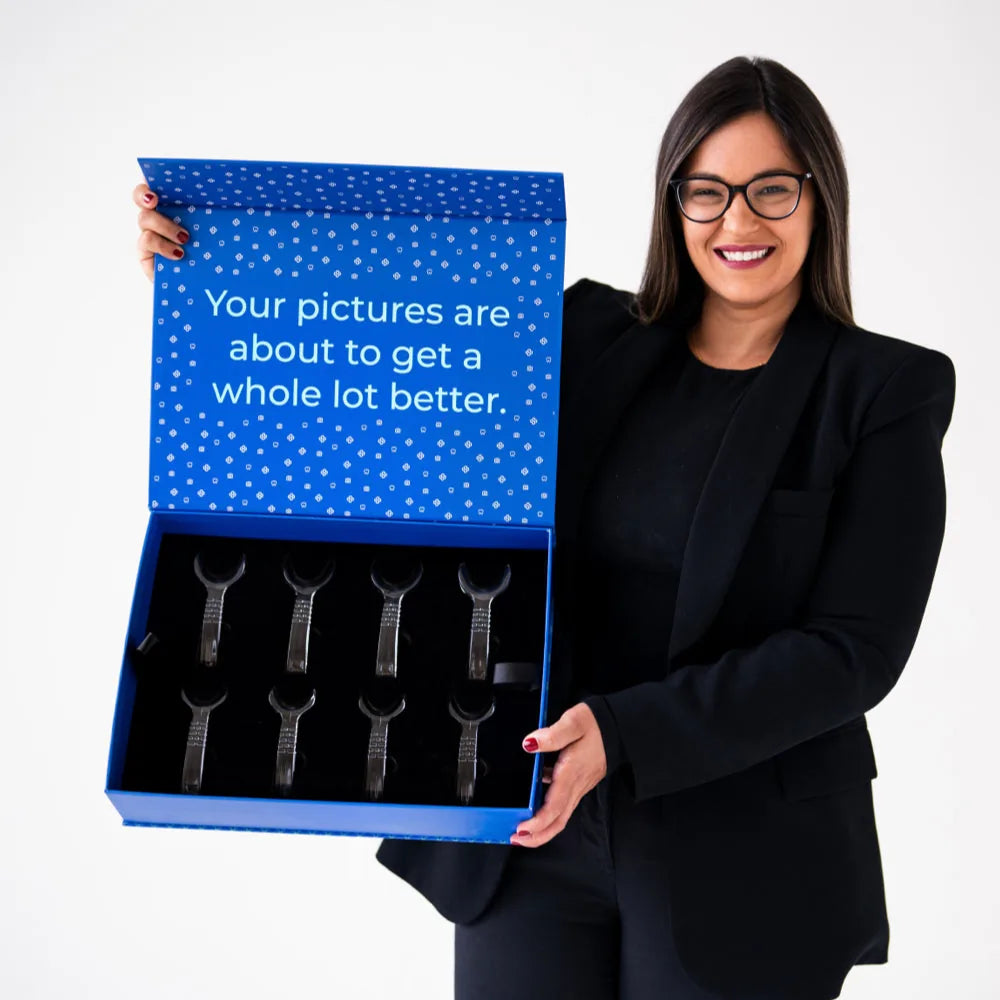
Everything on this list except the camera and flash is in The Box: retractors, a contrastor, an occlusal mirror and a black background, with lifetime access to my online Clinical Photography Masterclass.
My full photography protocol is part of Details, my online cosmetic dentistry masterclass.
Cosmetic dentist at Apa Aesthetic in Los Angeles and New York, and founder of Stribe. She teaches dental photography at Art of Ceramic, her hands-on veneer course.
Adapted from “Digital Photography: An Essential Component of Clinical Success,” Andi-Jean Miro, DDS, and Ilon Choai, DDS, Journal of Cosmetic Dentistry, 2020, Vol. 36, Issue 3.